This guide is for setting up Epson printers to use Paper Saver ink in Windows. Windows 10 is used as an example but setup is quite similar for other versions of Windows.
There are two main steps:
Step 1: Install the printer as instructed by Epson.
Step 2: Change the printer settings.
Step 1: Install the printer as instructed by Epson
Follow the instructions provided by Epson to install the printer, but remember to use Paper Saver ink instead of the black Epson ink and the Epson colored inks. You can also reference our filling instructions.
Step 2: Change the printer settings.
Change the name
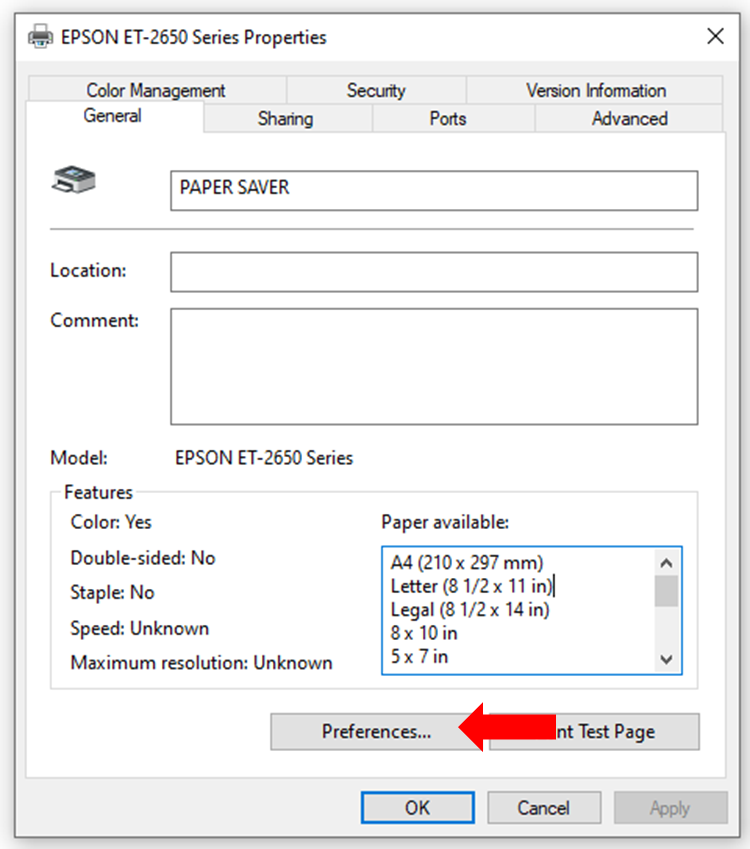
Go to Control Panel > Hardware and Sound > Devices and Printers. Locate the printer, right-click it, and select “Printer Properties.”
Change the name of the printer to “PAPER SAVER”.
Paper Saver Printing Settings
For printing with Paper Saver ink we want the printer to use only the ink in the black tank.
Click “Preferences…”
To make sure that only black ink tank is used we need to select Black/Grayscale and paper that is not glossy or semi-gloss. We can still use glossy or semi-gloss paper but the printer driver can’t know that because it will use ink from the color tanks if set to use glossy or semi-gloss paper.
Click on “Paper Type” and select “Plain Paper/Bright White Paper”. Select “Black/Grayscale” and click “OK”.
Setup is now complete! You can start printing now but we recommend visiting the “Tips & Ticks” section to make your first experience better.
We use cookies to ensure that we give you the best experience on our website. If you continue to use this site we will assume that you are happy with it.